We've got a new wood fence on the side of the house! I love, love, love it! In Part I (here) we installed all all the pre-fabricated panels. This left all the hard stuff...building the fence around/through the trees.
The Engineer and I debated about this a bit before we dove into it. We were concerned that it would look...well for lack of a better word...crappy. After some brainstorming we settled on three options to deal with the tree situation.
1. Cut the trees down.
We don't have any attachment to these trees so if they were gone it wouldn't be a big loss. There are a lot of other trees in our yard and in the neighbors yard that would give us more than enough shade in the summer time.
2. Build boxes around the trees.
This option had us bumping the fence out around the trees and back to the property line after the trees. Unfortunately, the 'bumps' would be on our property and we would be losing some space.
3. Custom build the rails and slats directly into the trees.
Choosing this option would take a decent bit of time and cutting to get the fence slats to align to the very not square trees haha!
I did not like option number two, I just thought these random boxes around trees would look dumb. The Engineer was hesitant about option number three because he was worried that we wouldn't be able to make it look nice enough (totally valid concern). Option number one would have made the fence look the most normal, but it was going to be a lot of work to take the trees in question out. And they were hanging over the neighbors house...not ideal.
I told The Engineer that we could make option three work if we just took our time and he agreed. So off we went making stuff up!
We had two gaps to fill: the first one had two trees that were growing in a V shape, and the fence was going directly through the V, and the second was a tree that started on our side of the fence way back when and has since grown over to the neighbors side. This is the span with the V trees in it and may I take a second to point out that during this process the house next door was painted and it looks so nice now! Yay! Makes me want to paint our house now. Many things ahead of that though :(

We had one thing working in our favor. In both of these gaps, we had a clear shot to the other side for the top rail (each fence panel has three horizontal rails that the fence slats are attached to). So, first we used a combinations of spacers, clamps, and a level to get the top rail (a 1 x 4) attached to both fence posts.
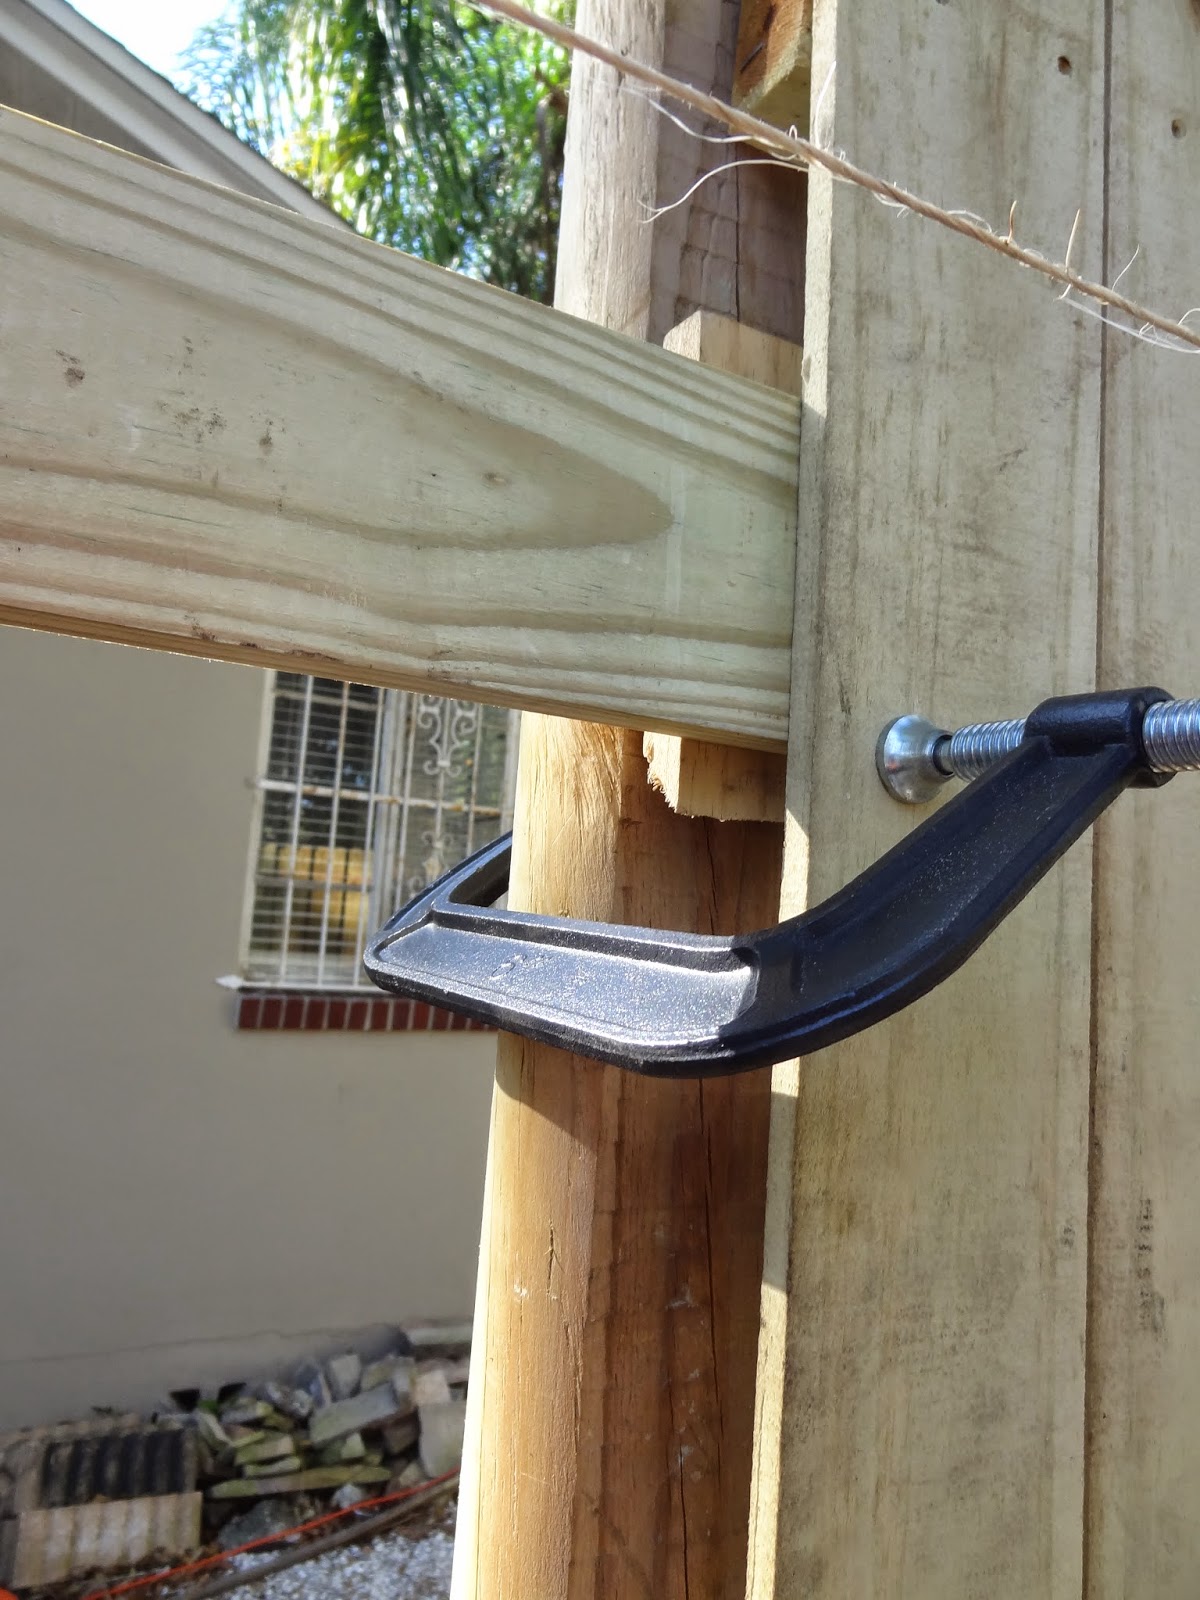


At the very least, this gave us something level to work off of! We did the same thing in the second span.

For the mid and bottom rails we had to get a little more creative. In the V we actually screwed our horizontal supports directly to the tree. This may create some problems in the future as the tree grows, but we will keep an eye on it and make adjustments over the years as necessary.

We decided to add a vertical support in one location since we were spanning a large distance to prevent sagging (the support is resting on the tree roots).


After we had our rails constructed we were ready for some fence slats!

The first run wasn't too bad because we had a lot of space where we didn't have to cut any slats.


Is it 100% perfect? Not quite, but given what we had to work through (pun intended) I think it turned out just fine.

Now our back yard is nicely defined by a crisp new fence. It is so much nicer to look at than the old chain link!

Remember? Yuck, yuck, and oh yea, yuck.

Worth every penny and every second <3
Our next project has taken us back inside...if you follow me on Instagram or Facebook you saw me post some paint choices. We are finally renovating the office! I'm not sure if renovating is the correct term...we are starting from scratch really, since there is nothing in that room but randomly stored items. We have some big plans and I'm pumped to share them along the way. I'm hoping to get a post up soon detailing our ideas so you can follow along. Thanks for stopping by!
y chain link privacy 1 parts vinyl parts railing canopy shelter parts 2 complete packages 3 gates panels 4 posts pipe 5 galvanized chain link rollsprivacy and louvers for ornamental steel ornamental privacy slat features easy to install require no special tools or experience ideal for the do it yourself projectchain link fence estimator
ReplyDelete