We left off with the office looking like this:

The next logical step was to paint. There were a few things we could have done (and ideally would have liked to have done) before painting, like installing junction boxes in the ceiling for pendant lights. The problem was that before we had all the cabinets installed, we didn't want to go punching holes everywhere. We wanted to be sure that we liked the placement of things before we committed. This meant installing the cabinets first, and before we installed cabinets, we needed to paint.
We bought sample sizes of our paint colors to test before we decided on Manhattan Mist as our base color and Milestone (both Behr paint colors, top right and left, respectively in below picture) for an accent wall behind our built in open shelving. And yes, the paint colors aren't exactly true in the picture.

The first thing we did was patch all the holes in the walls. There were a lot. I don't know how many things have been hung on these walls over the years, but the holes from them have not been taken care of. We put a fresh coat of white on the baseboards, crown molding, and door frames. This wasn't the best first step in painting because it meant I had a lot more edge work to do, but at the time it was the only paint we had on hand and we had the time to do some work (clearly this happened before we bought the rest of the paint haha). When we bought our paint, we also bought a large roll of plastic to cover the floors with.
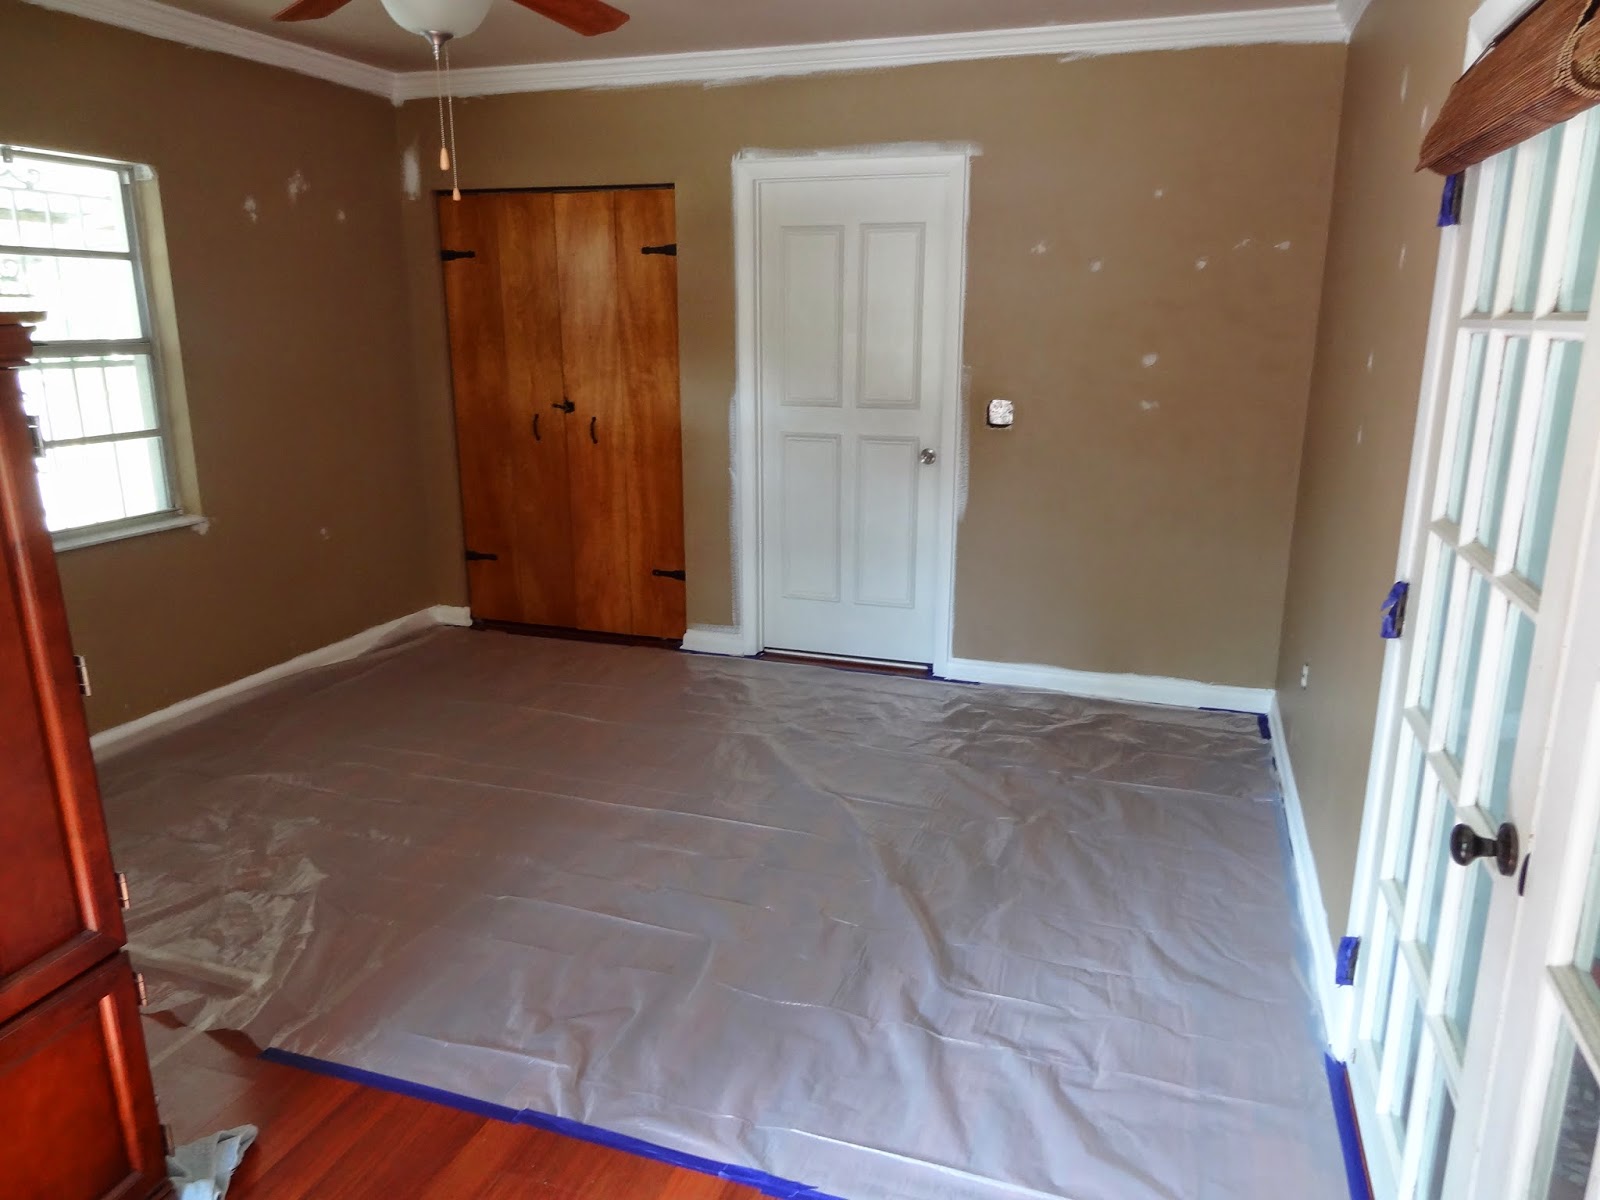
I'm normally not so insistent on something like this (I usually use one drop cloth and move it as I go) but knowing I had to paint the ceiling gave me extra incentive to make it easy on myself!
We did some tag teaming and The Engineer tore the other window stool (explanation on window sill vs. window stool here) off and removed all the cover plates, air vents, and laundry room doors.


One thing I love about repainting a room is that you usually get a peek at the history when you take the cover plates off. Typically there is a little left over paint from the last time is was painted. Guess what color this room used to be?

Bet you didn't guess purple :)
While he was doing all that, I cut in with primer.

We then double teamed and both grabbed paint rollers. I started with the ceiling (we were going back to white with the ceiling to achieve a crisp look...the ceilings were a light tan) while The Engineer tackled the walls and we primed the entire room.


For painting the ceiling we purchased a drip guard (great investment), but not a pole extension. Wanna know why? The handle for my broom unscrews and fits right into the end of the paint roller. No need to spend extra money there :)
I woke up the next morning to a lovely white-ish space.


As luck would have it, this was my day off so as The Engineer set of to work, I headed to Home Depot to get the rest of the paint we decided on. As soon as I got home I put a coat of white on the ceiling. I don't have any good pictures of this because it doesn't look much different from the primed ceiling in pictures. Just imagine in real life that it is crisp and pretty!
I then went right into cutting in with the base grey. I free hand all this because I have a steady hand and feel that it is much more worth my time to go slow than it is to tape everything off. Everyone is different, and this is just my preference. I'm sure a lot of people would prefer to tape off the molding first.

I was on such a roll that I rolled on (no pun intended hehe) the first and second coats of grey on the walls too.


I absolutely love how clean the grey looks against the white and the lighter color makes the room feel much more alive than the old brown that was in there. I really didn't realize how much I disliked it until I painted over it haha!
I left one blank spot on the wall...
And this was for our the dark grey accent wall.
We had some things to do early on the next day but I managed to get one coat on the accent wall and the second coat on the next day while The Engineer started building the cabinets.

So Saturday night we figured we had no other choice but to head to Ikea to get said cabinets :)

Check back soon to see whats inside the boxes!
No comments:
Post a Comment