Soooo, a looong time ago...I picked up a table that someone was throwing away. I wanted to upcycle the table and put in the sunroom. I mentioned it way way back in a post when we redid the sunroom. (Still lovin' that room by the way <3) Yea, I know, you don't remember. I wouldn't either. Here's a reminder...

It is a little table with a drawer and two wine racks.

And someone was throwing it away!!!
If you read the story of picking it up, it's pretty comical...to sum it up, the top was not attached and it created quite a ruckus.

You can tell how long ago this was because it was before I painted the sunroom walls white haha!
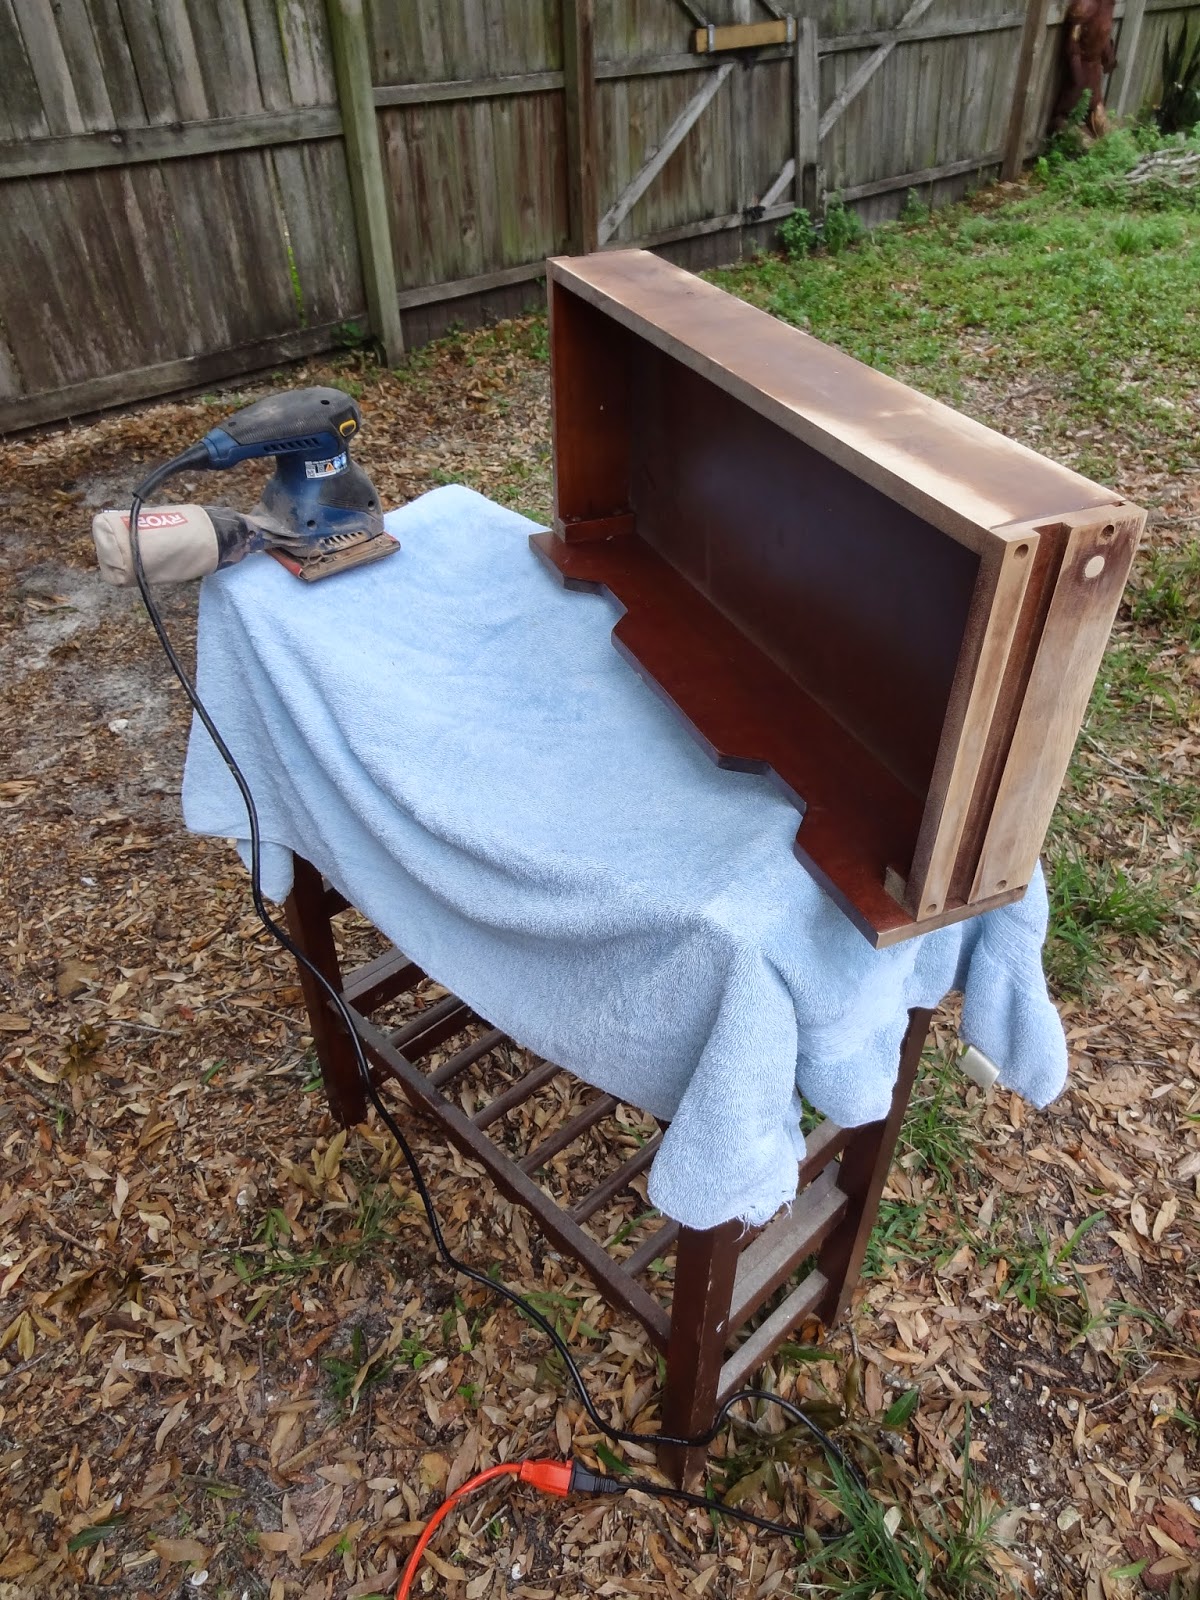
But this is what I did to it!


(They are now stepping stones in front of our shed) The inserts came out easily, but I spent a decent amount of time scraping the glue used to hold them in. Then I sanded everything i could get my hands on with with the electric sander and hand sanded the details.


I covered it with a coat of primer and put a light coat of grey on it.


As soon as the paint touched the table though, it looked white. That wouldn't be the worst thing in the world if it wasn't going to be in front of a white wall :( Luckily The Engineer let me go get new paint so it would look better <3 All I have to say is that if something doesn't look right, fix it! It will be worth it.
After everything was painted grey I gave it a pop of color :)

With the base well on its way I turned my attention to the table top. I saw this idea on Pinterest and had stashed it away:

{source}
I liked the letter idea and thought this table was perfect for it!
Thus, I had some letters to paint. Oh, and I had to replace the backing of the table top since I tore that off.

At the top is the original table top, then my new backing. I cut two inserts to go inside the squares to build up the height a bit and then painted letters white to place in the inserts.
I had to hunt for brad nails short enough to nail the backing on, but eventually I found what I was looking for and attached the backing.


I popped the inserts right in and arranged the letters to fit.


I simply used a little wood glue on the back of each letter (nope, I didn't paint the back, no need) and in 5 minutes the table top was ready.


To attach the top I just used liquid nails and the little table came together nicely.


It is definitely a unique little piece now, but it fills that spot in the sunroom so well! So there ya have it...something that someone was throwing away. Next time you are throwing something away...call me first!!
No comments:
Post a Comment