The Engineer and I went to London!

This trip wasn't planned super far in advance...we just took advantage of an opportunity :) I'll definitely put together a post about our adventures! We had a blast!
But back to reality...we have made some more progress with the office.
We painted the office a nice light grey with a dark accent wall where we are planning to build open shelving.

As great as the new paint looked, we couldn't go any farther without our cabinets. We had two hours on a Saturday night before Ikea closed. They don't open until 11 am on Sundays so we wouldn't be able to start work first thing in the morning if we didn't get to Ikea and pick up our materials. We were confident in our design so we went for it.
Placing our order was easy because we already had everything in the Ikea kitchen planner (same thing we used to plan our dry bar here). We just quickly confirmed that the door styles, finishes, and counter tops were the ones we wanted and ordered!
On big orders like this, Ikea pulls your items for you so you just have to kill some time and then roll on out of there with your goods! I only bought a few extra goodies in my spare time :) :) Hey, at least it was all for the office right?

We certainly pushed the limits of our jeep on this load...we had 900 lbs of materials, plus the two of us! Thank goodness we live close to Ikea!!!

Since many areas of the house were housing all the clutter from the office, the only place to offload all this stuff was our living room. So we backed up on the front lawn right to the front door. Classy eh?
Empty above...
And not so empty below...


The Engineer started building the bases for the cabinets on Sunday morning while I put the second coat of paint on the accent wall.

Once I was finished I helped him build the rest of the cabinet bases.

Ikea assembly is pretty user friendly if you follow their directions. We use their stuff so much that we tend to notice small improvements they make with their products every time we build something. Not sure if that is good or bad haha!
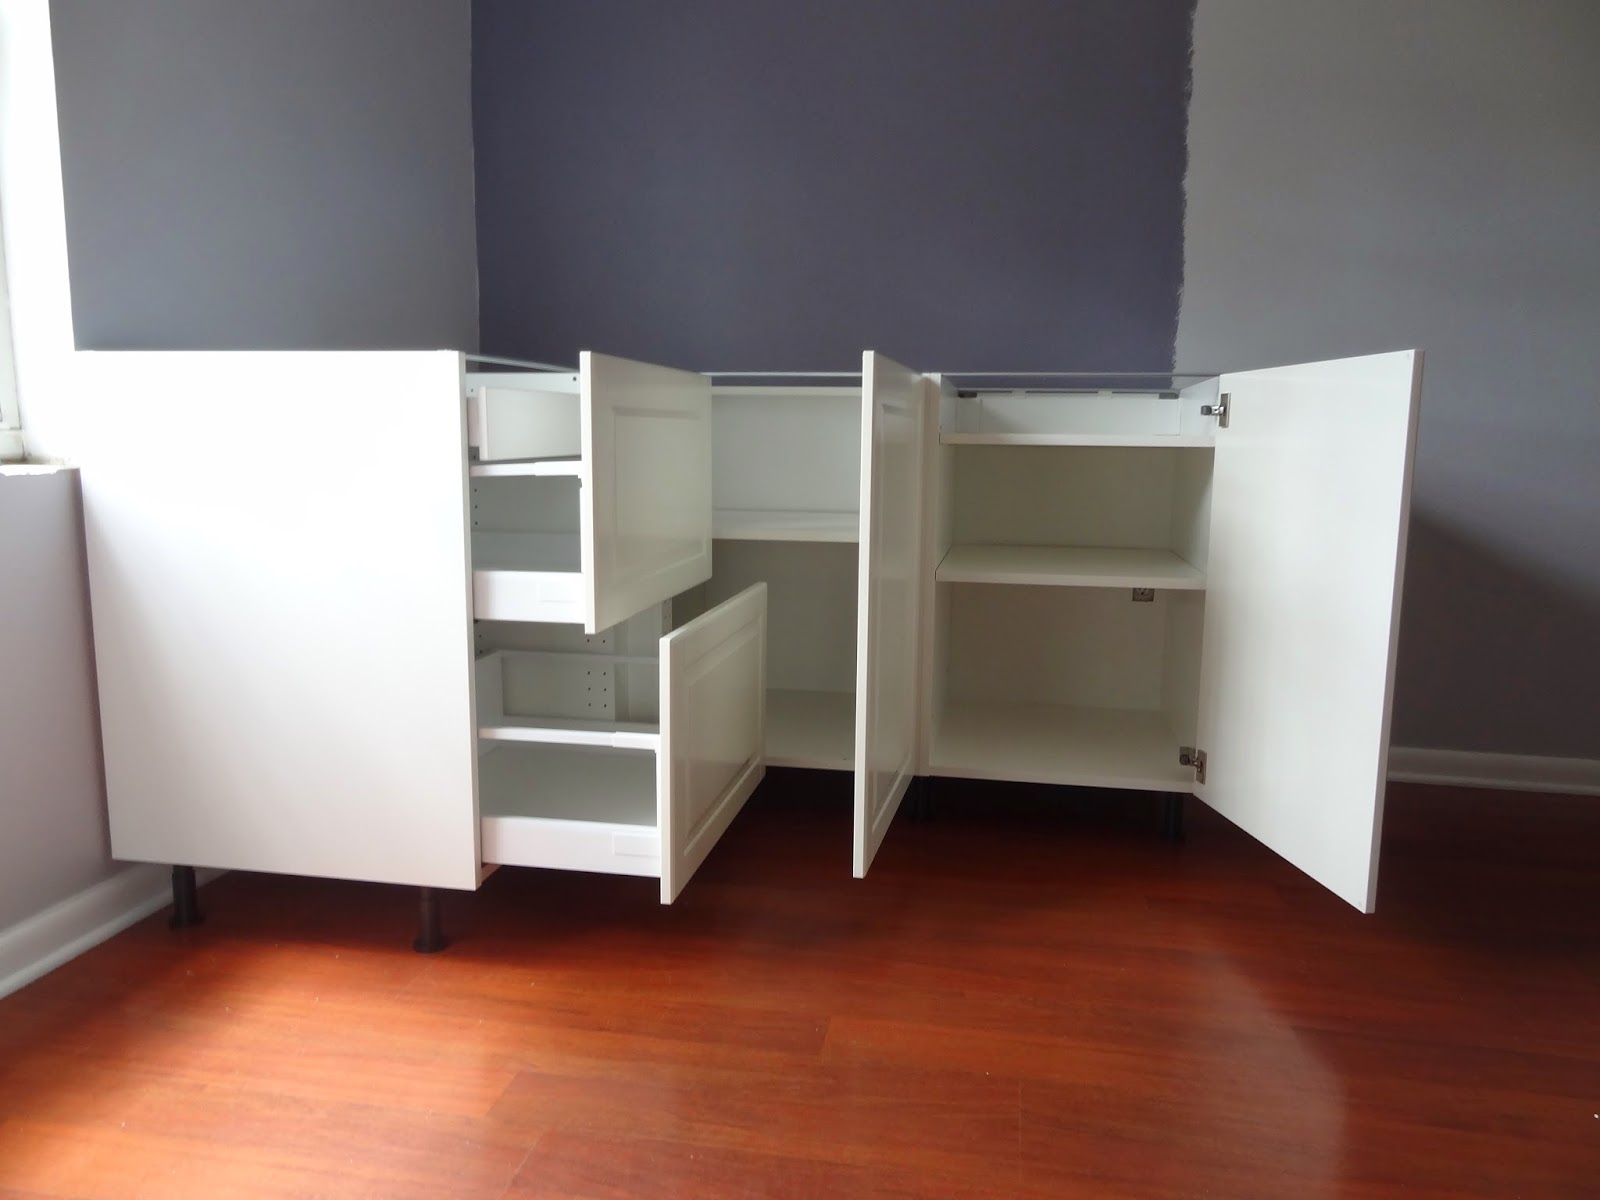
After building all the bases, we took them into the room and set them up as planned to see how it looked.


We did notice one problem though...
Our plug on the far wall was split by the edge of the cabinet.

We knew it would be close and had loosely planned on moving the outlet. But after some discussion, we decided to exchange our 21" cabinet for a 24" cabinet. Those extra three inches put the plug completely behind the cabinet and we just cut a hole for it and plan to put a printer in there.
The cabinets attach to the wall through a railing mounted in the studs. We mounted said railing, put feet on the cabinets and mounted them to the rail. We also cut a hole in the cabinet for the outlet. Unfortunately, I don't have any pictures of these steps because I deleted them. Whoops. I cleared the memory card from the camera before our London trip not realizing that I hadn't downloaded everything from it. Oh well. If you are interested in the process you can check out this post from our dry bar assembly. We used Ikea kitchen products here so its all more or less the same :)
The doors and drawers went on next which made things look a little more like an office for the first time.


And then we high tailed it for London. But we're back on track and will keep the updates coming.
Find previous office progress here and here.
Cheers!
No comments:
Post a Comment